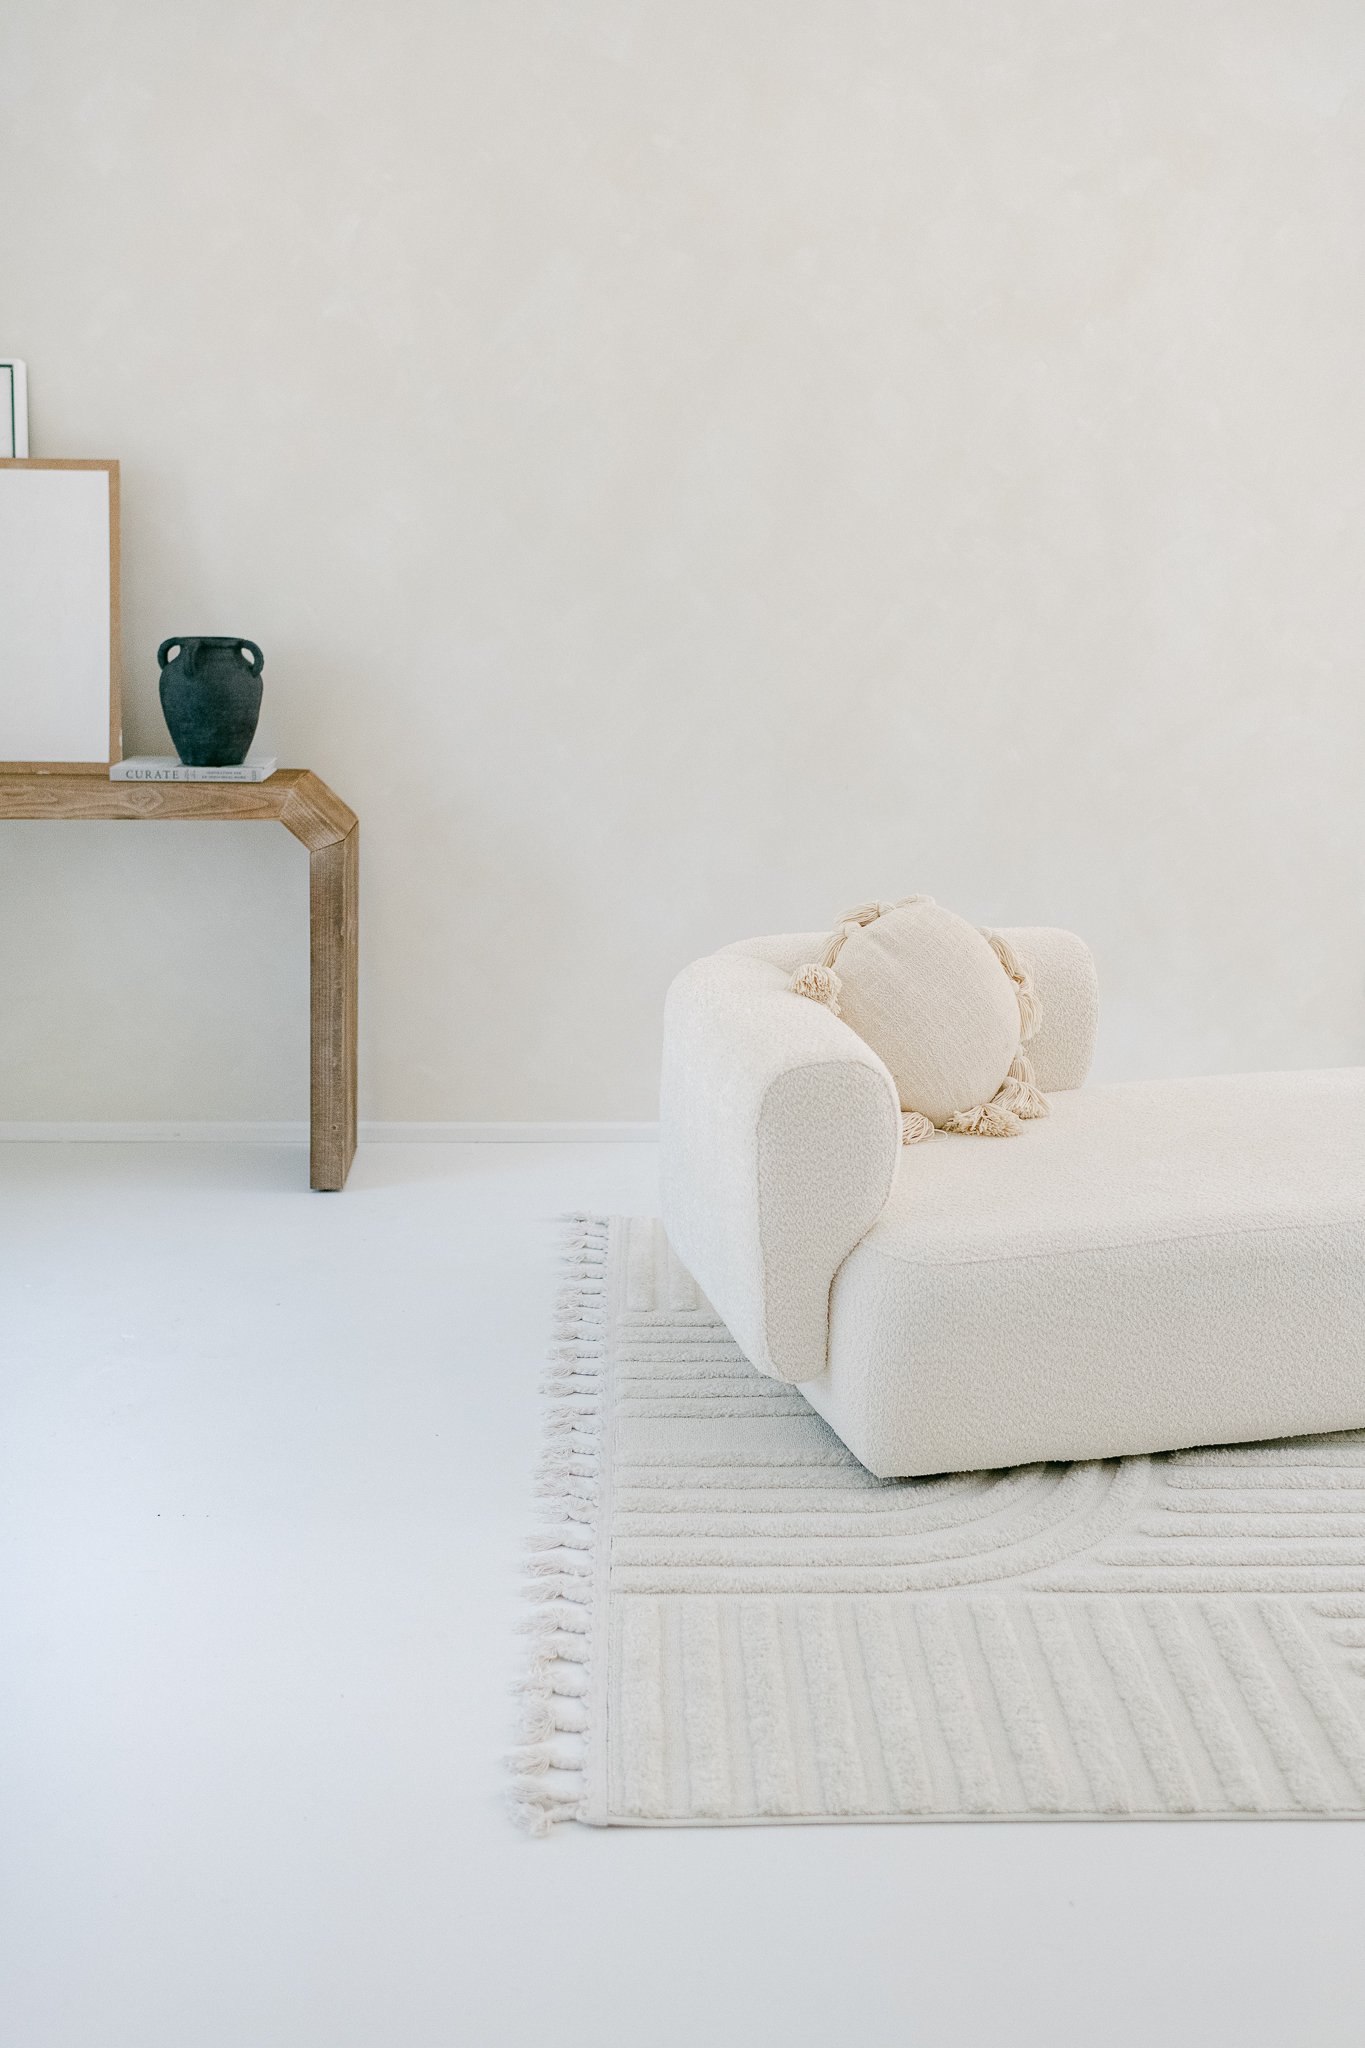
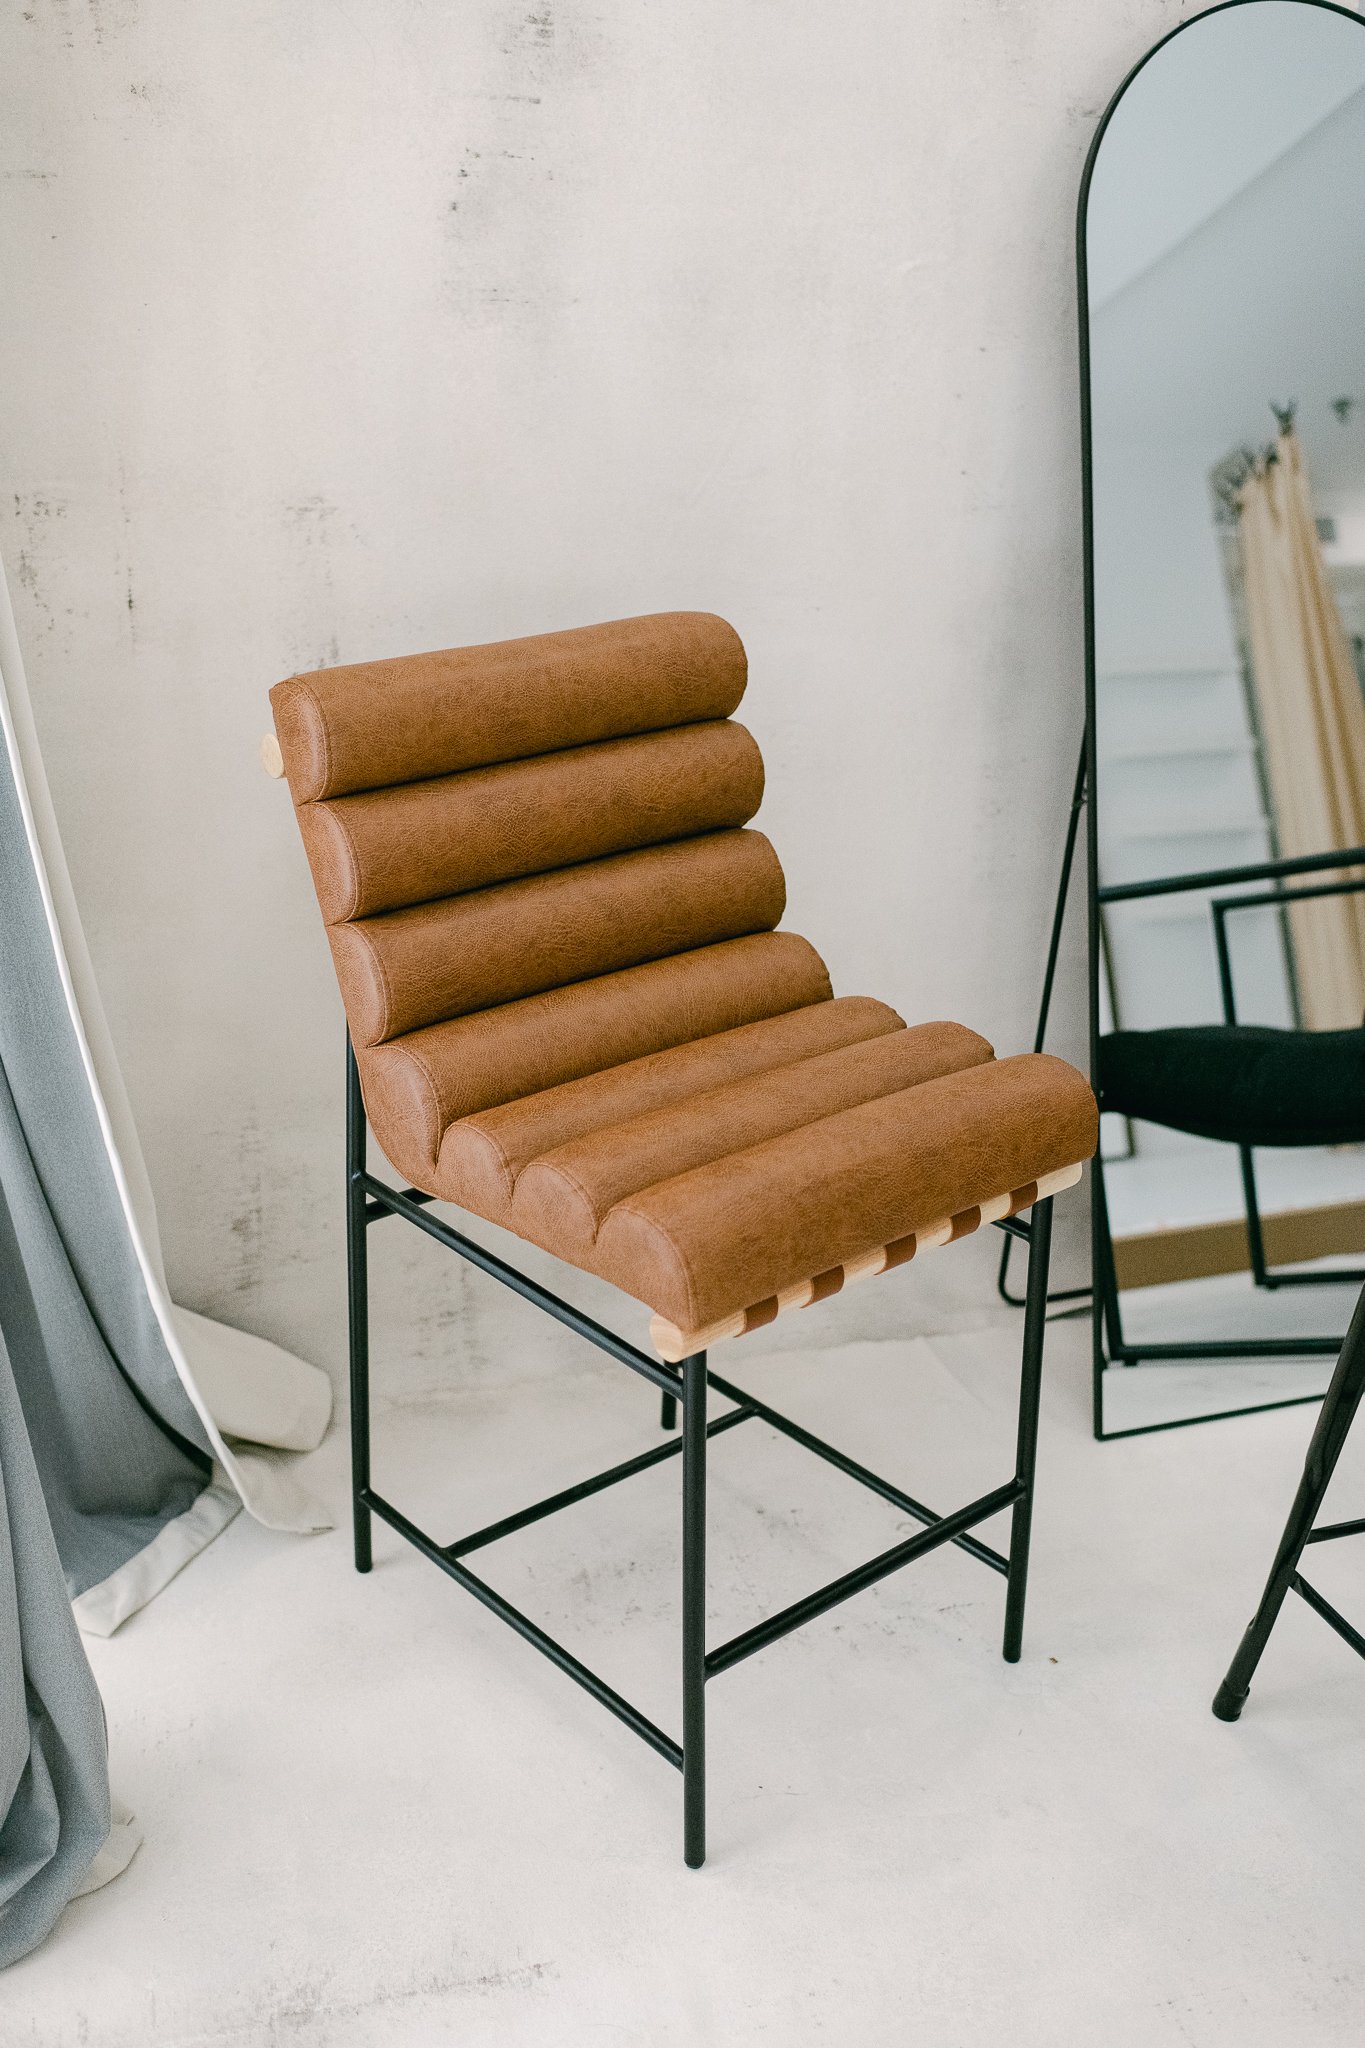
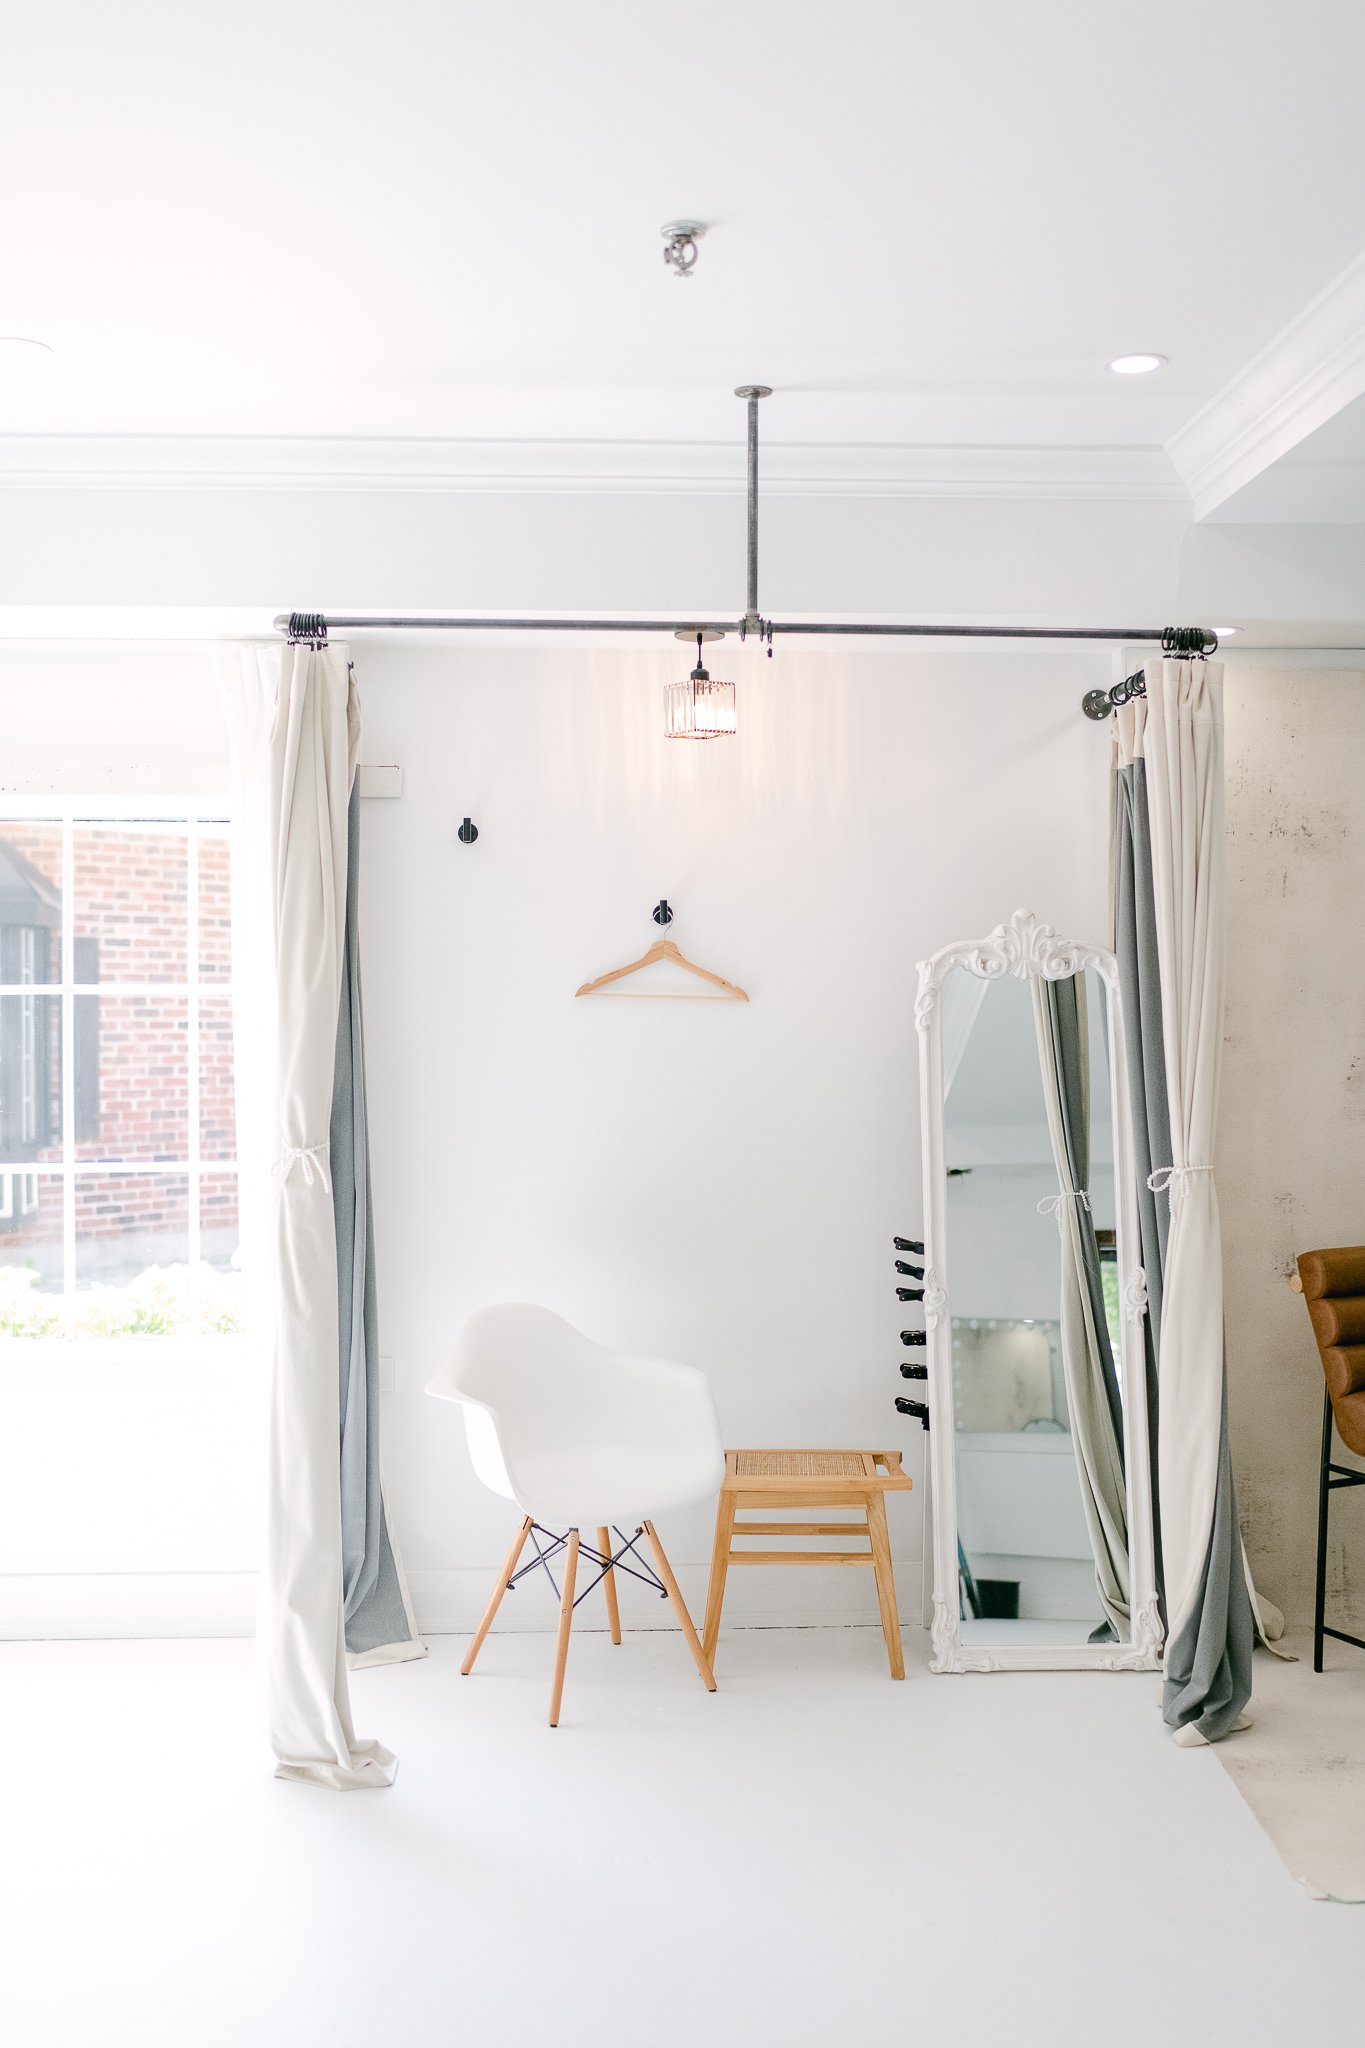
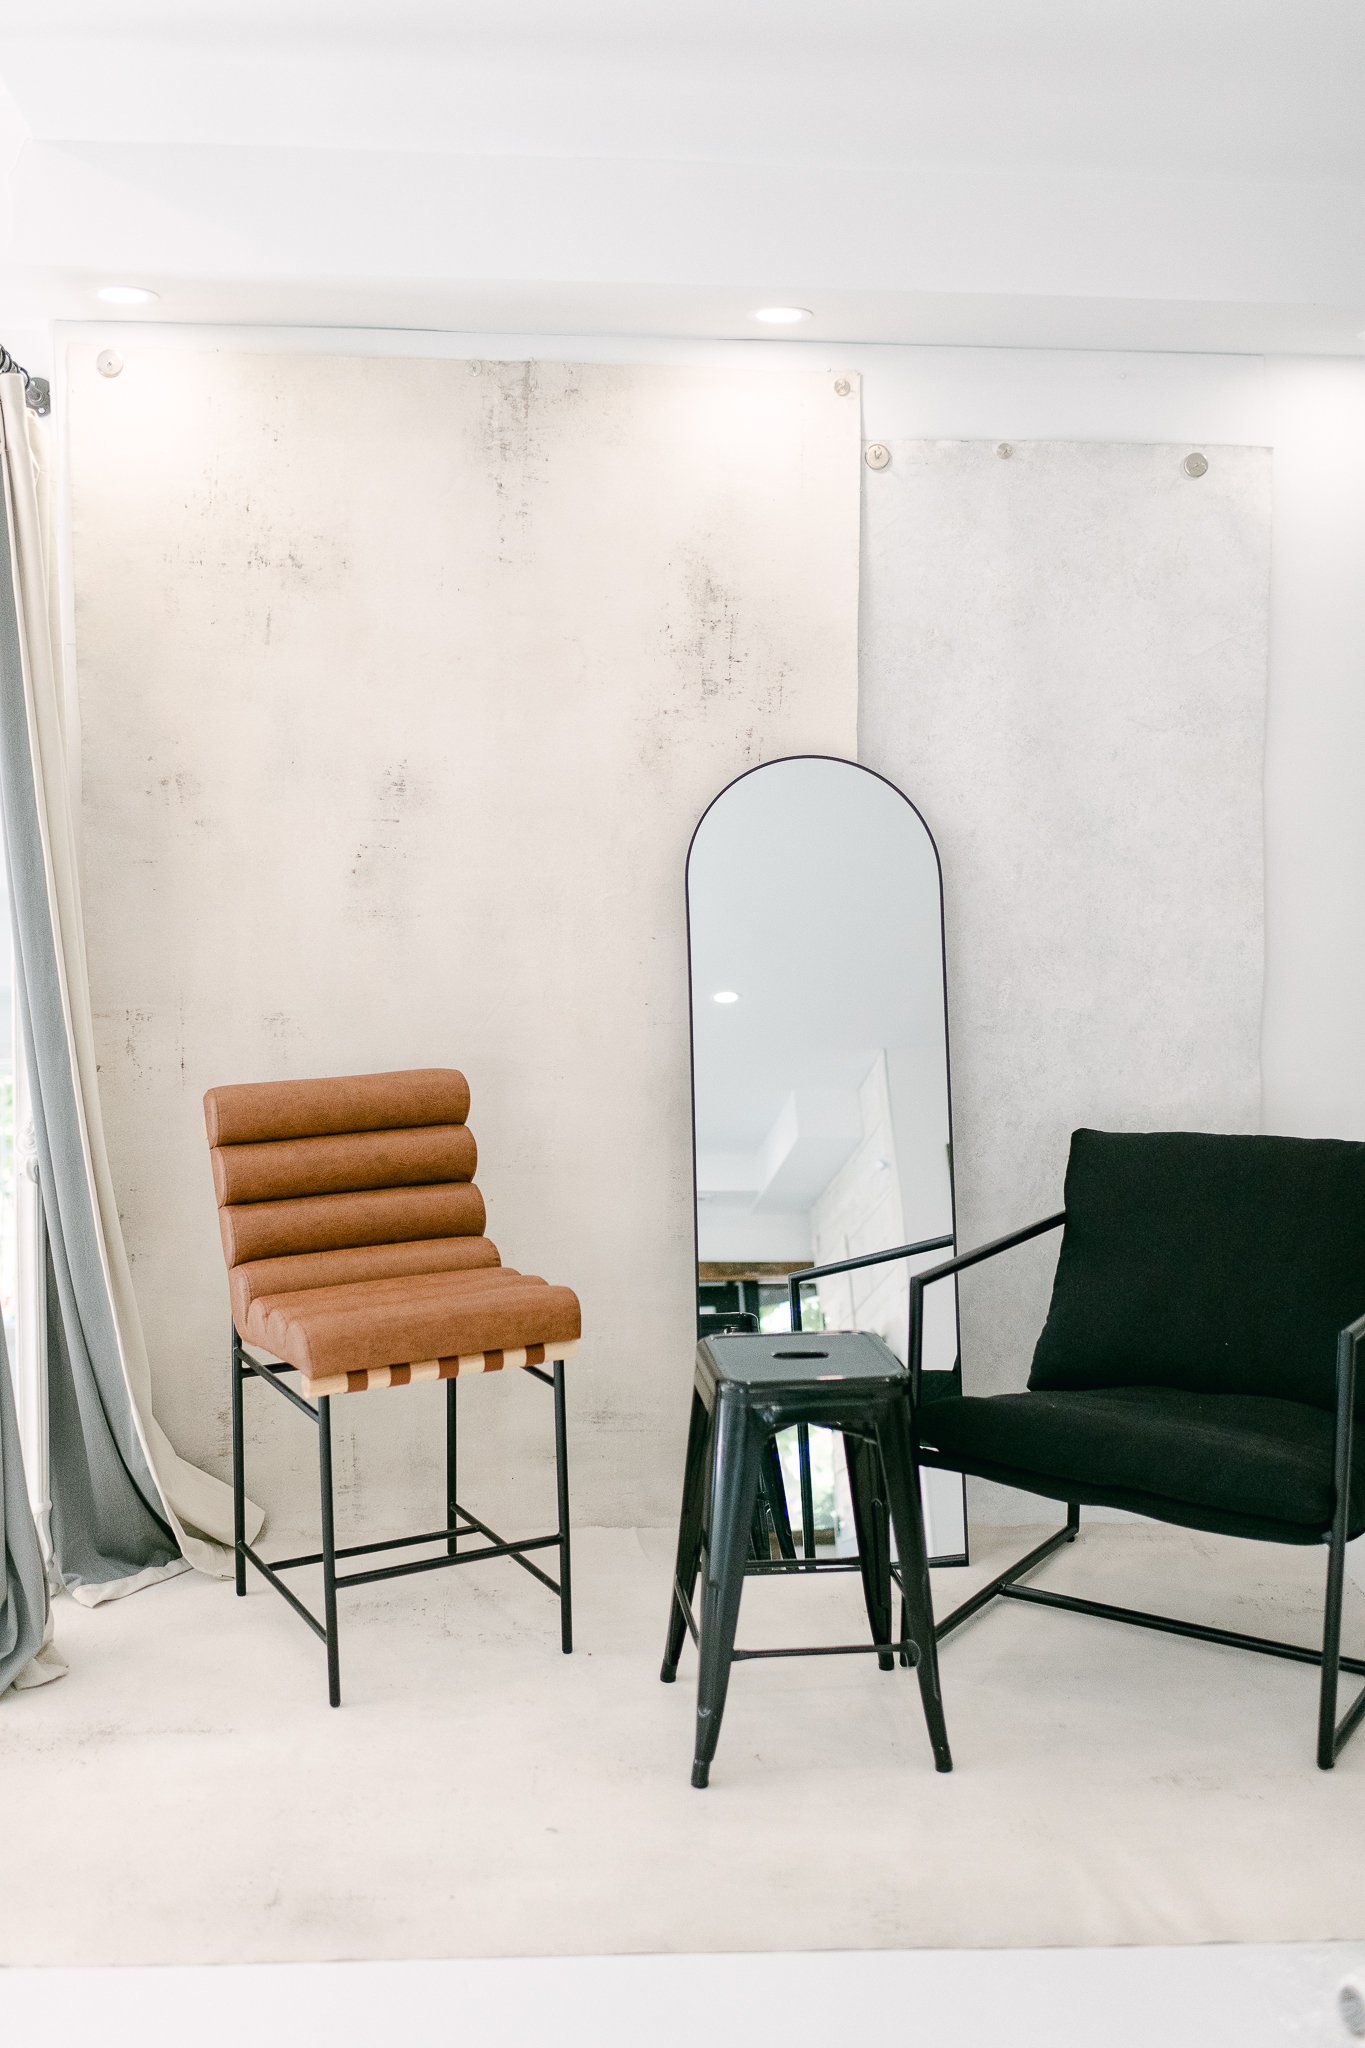
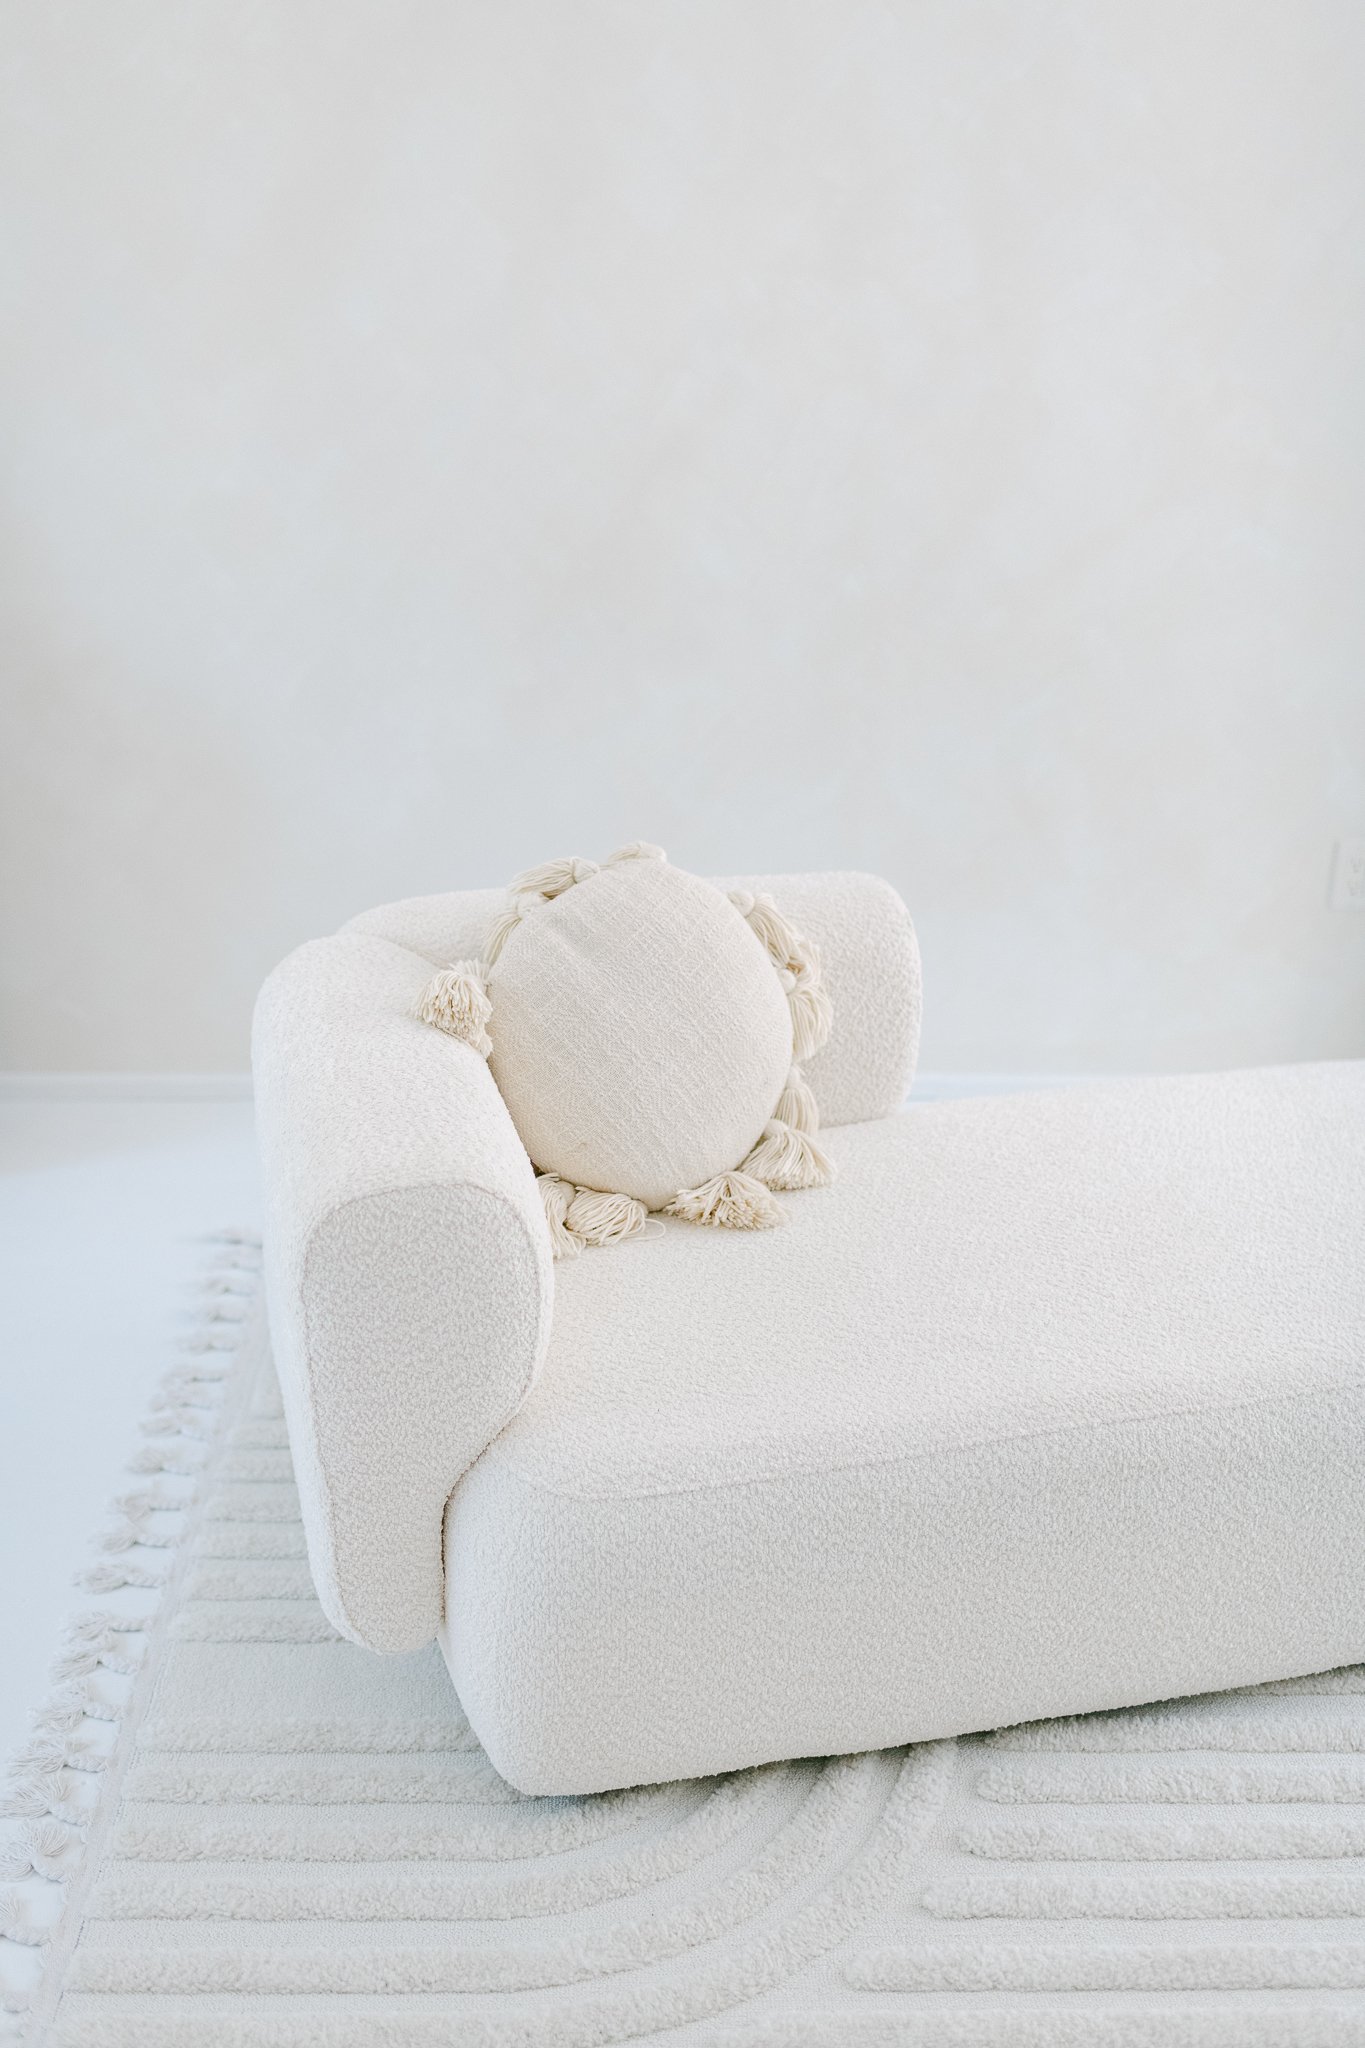
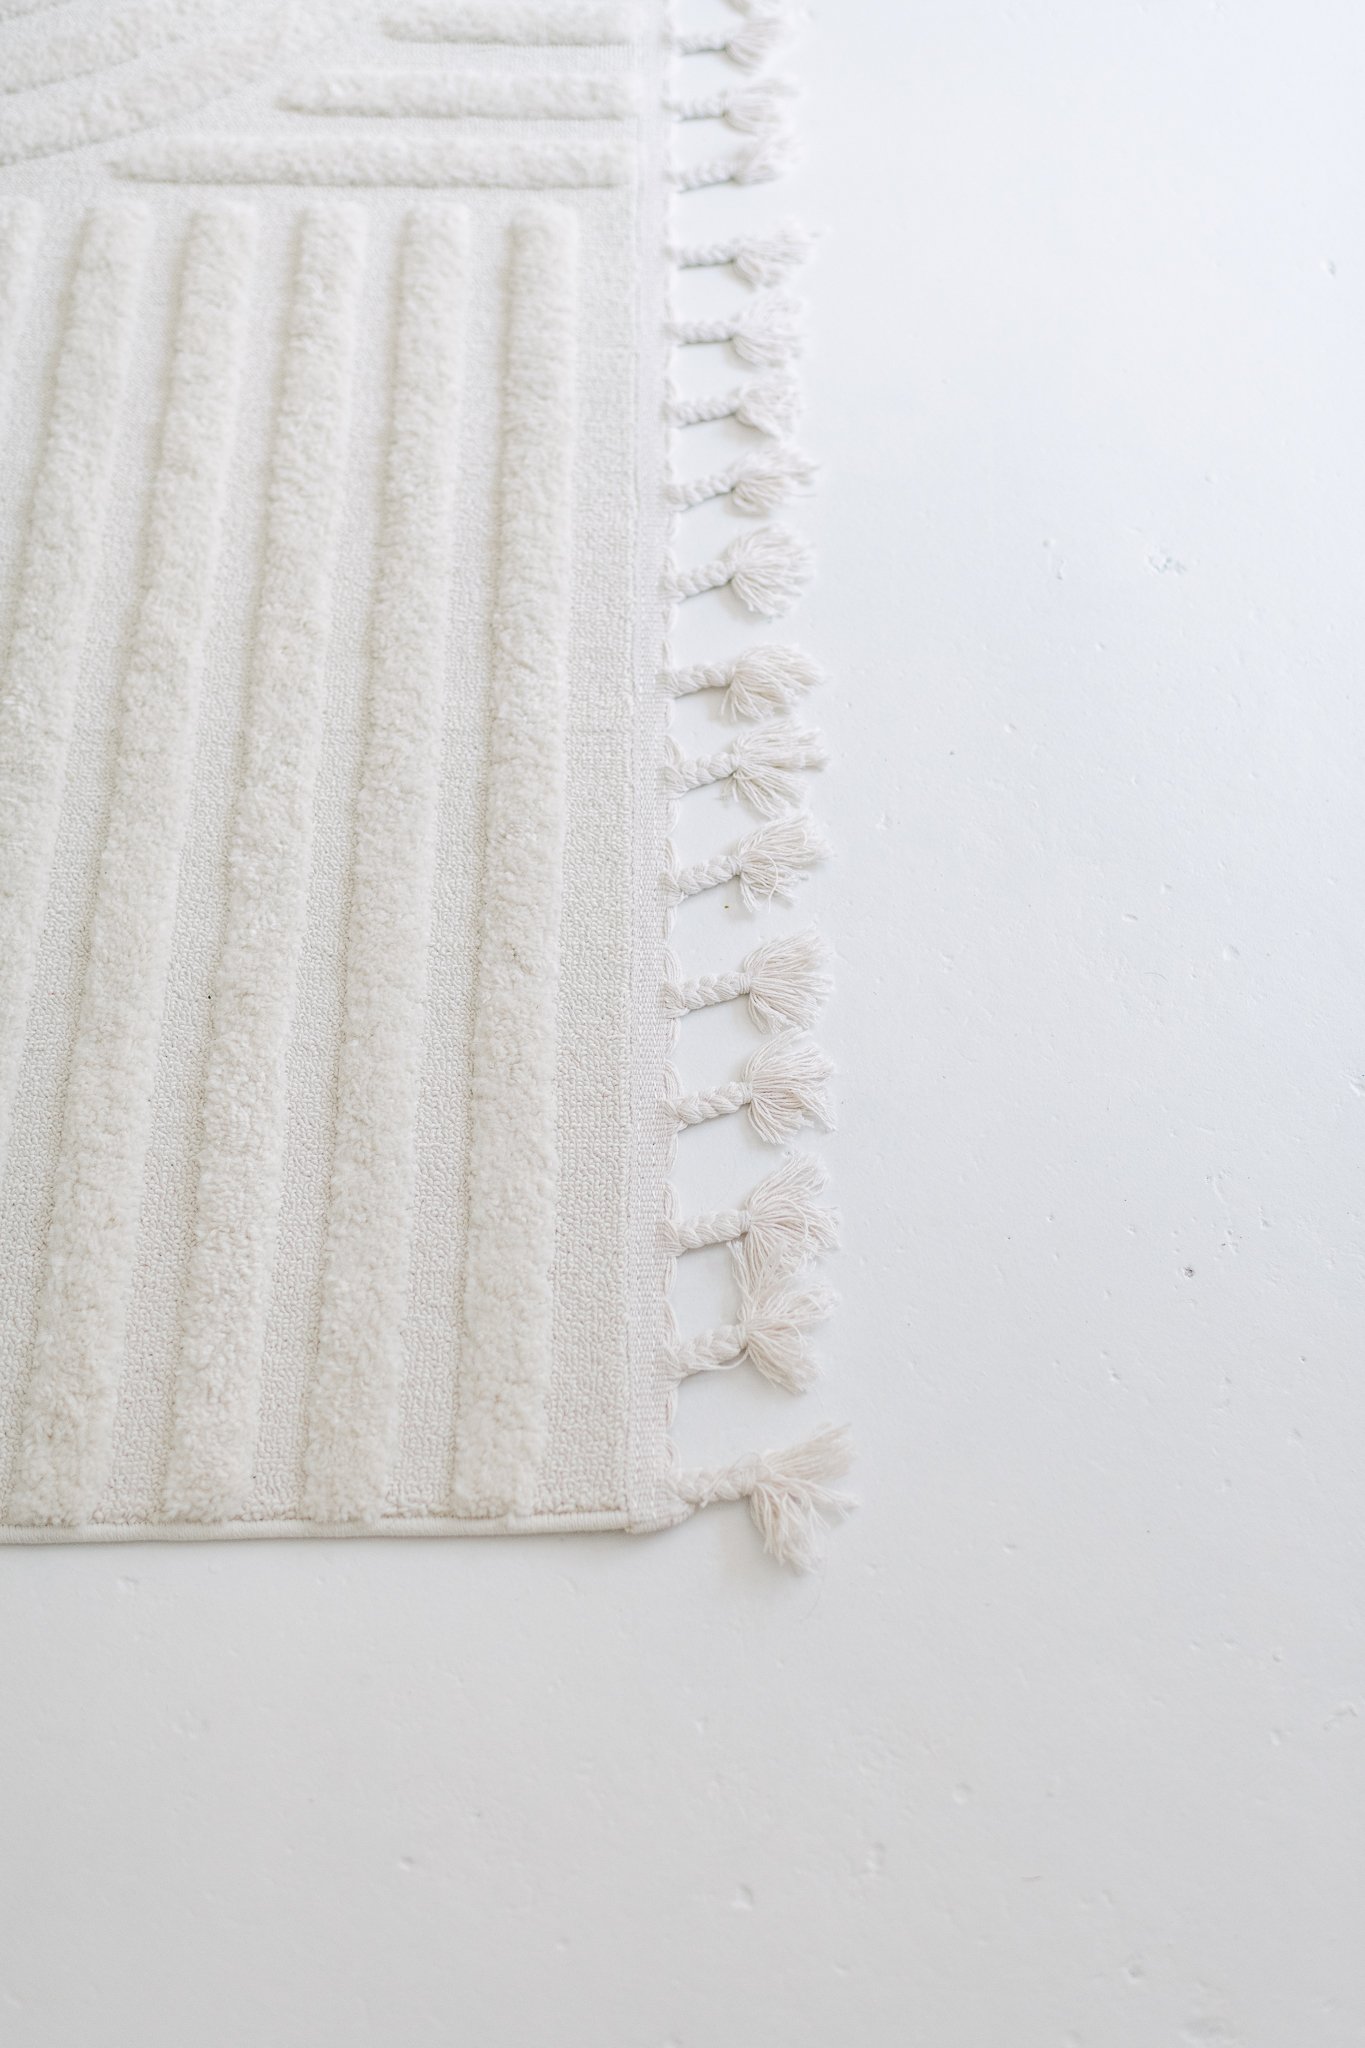
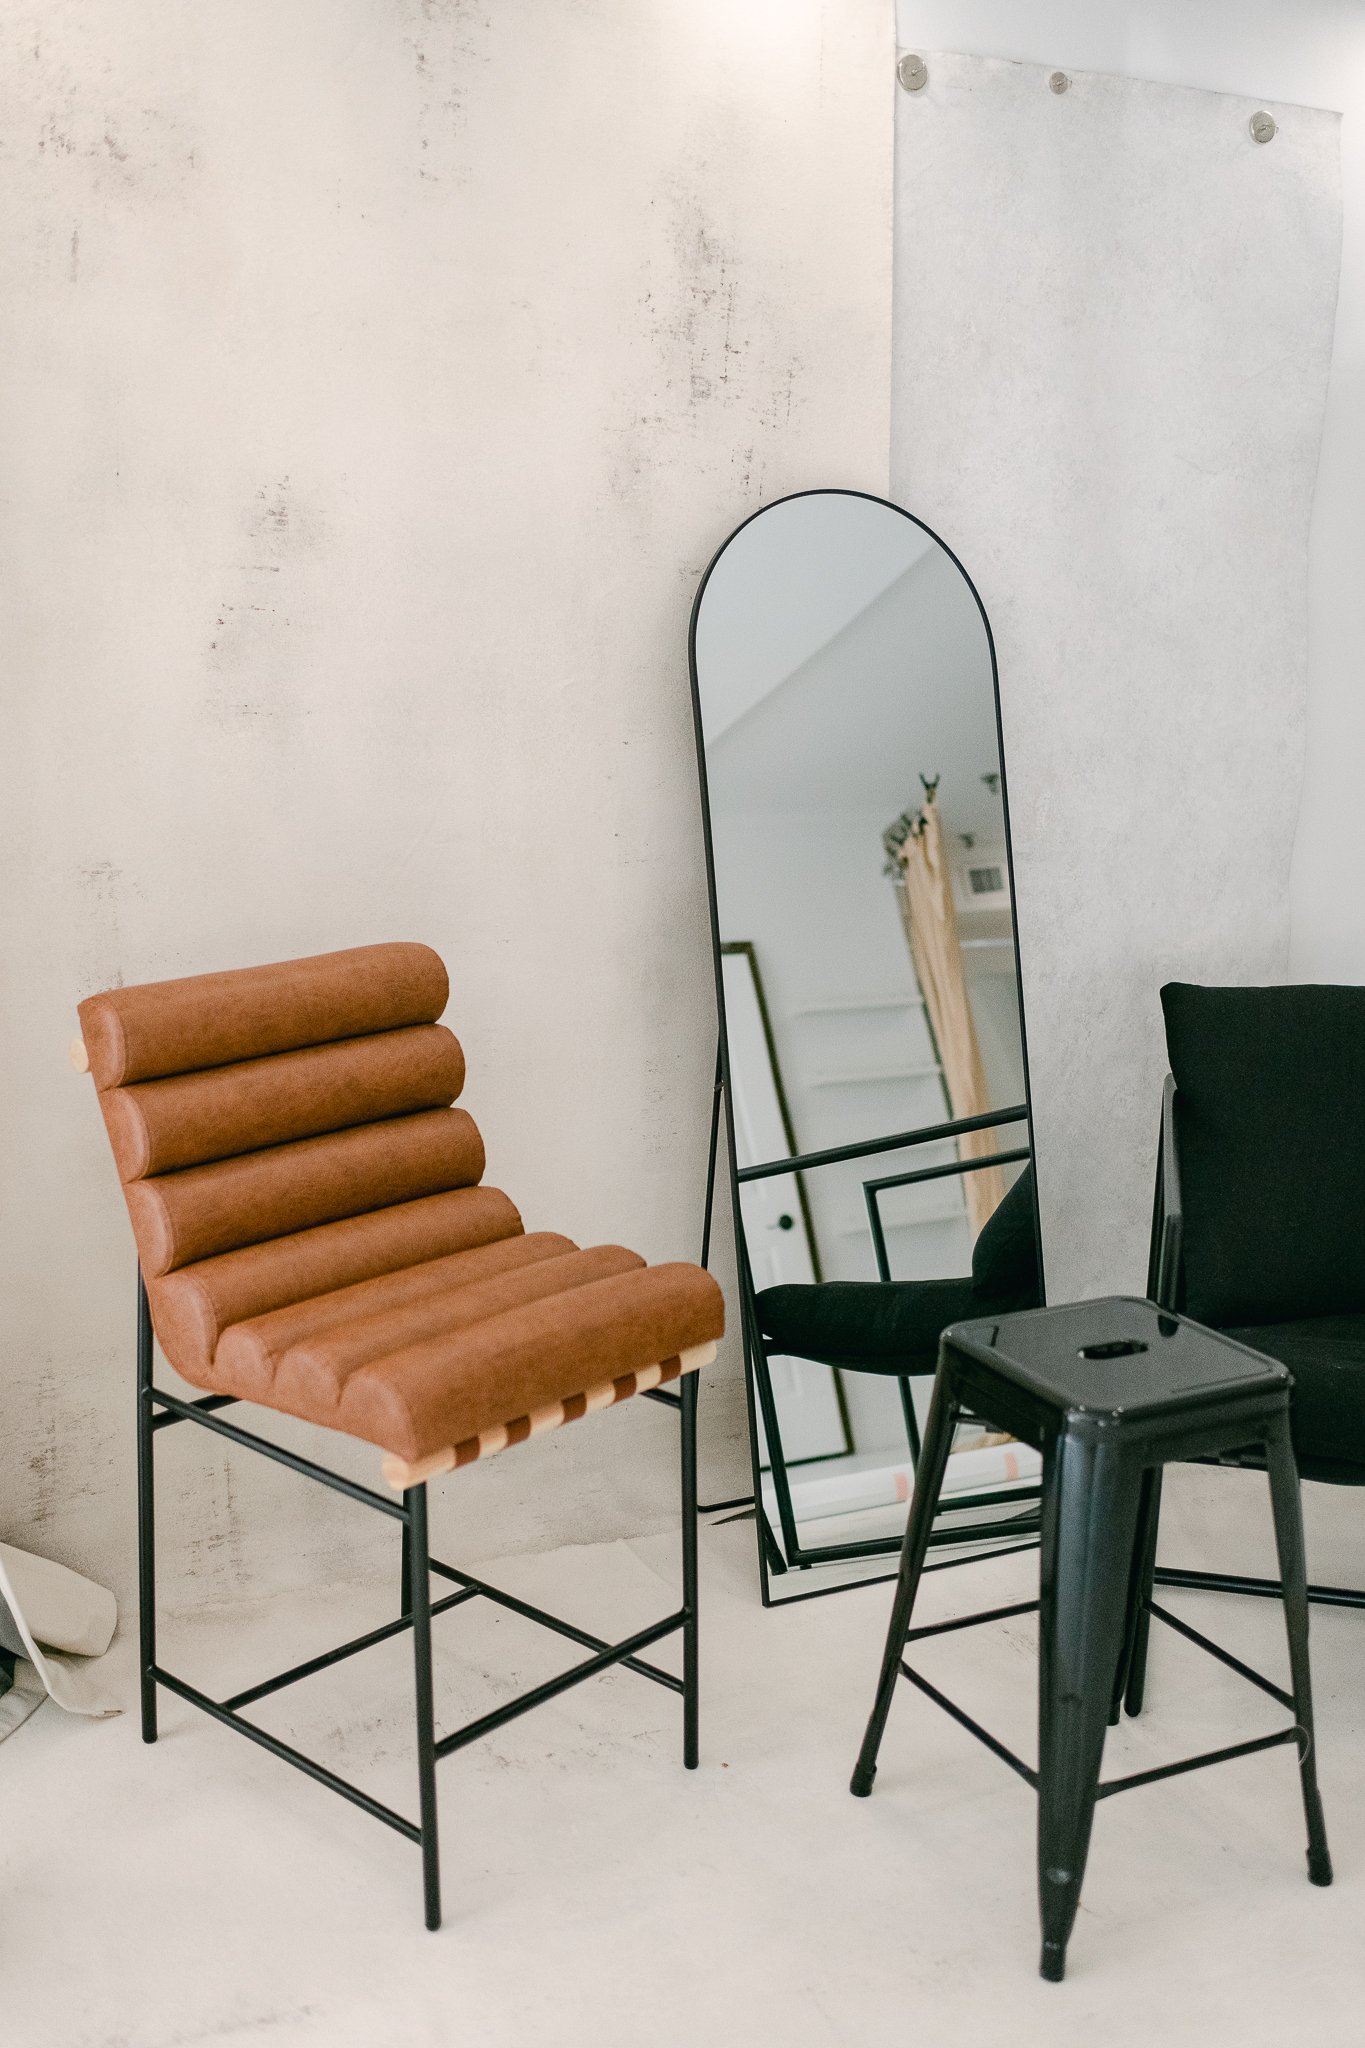
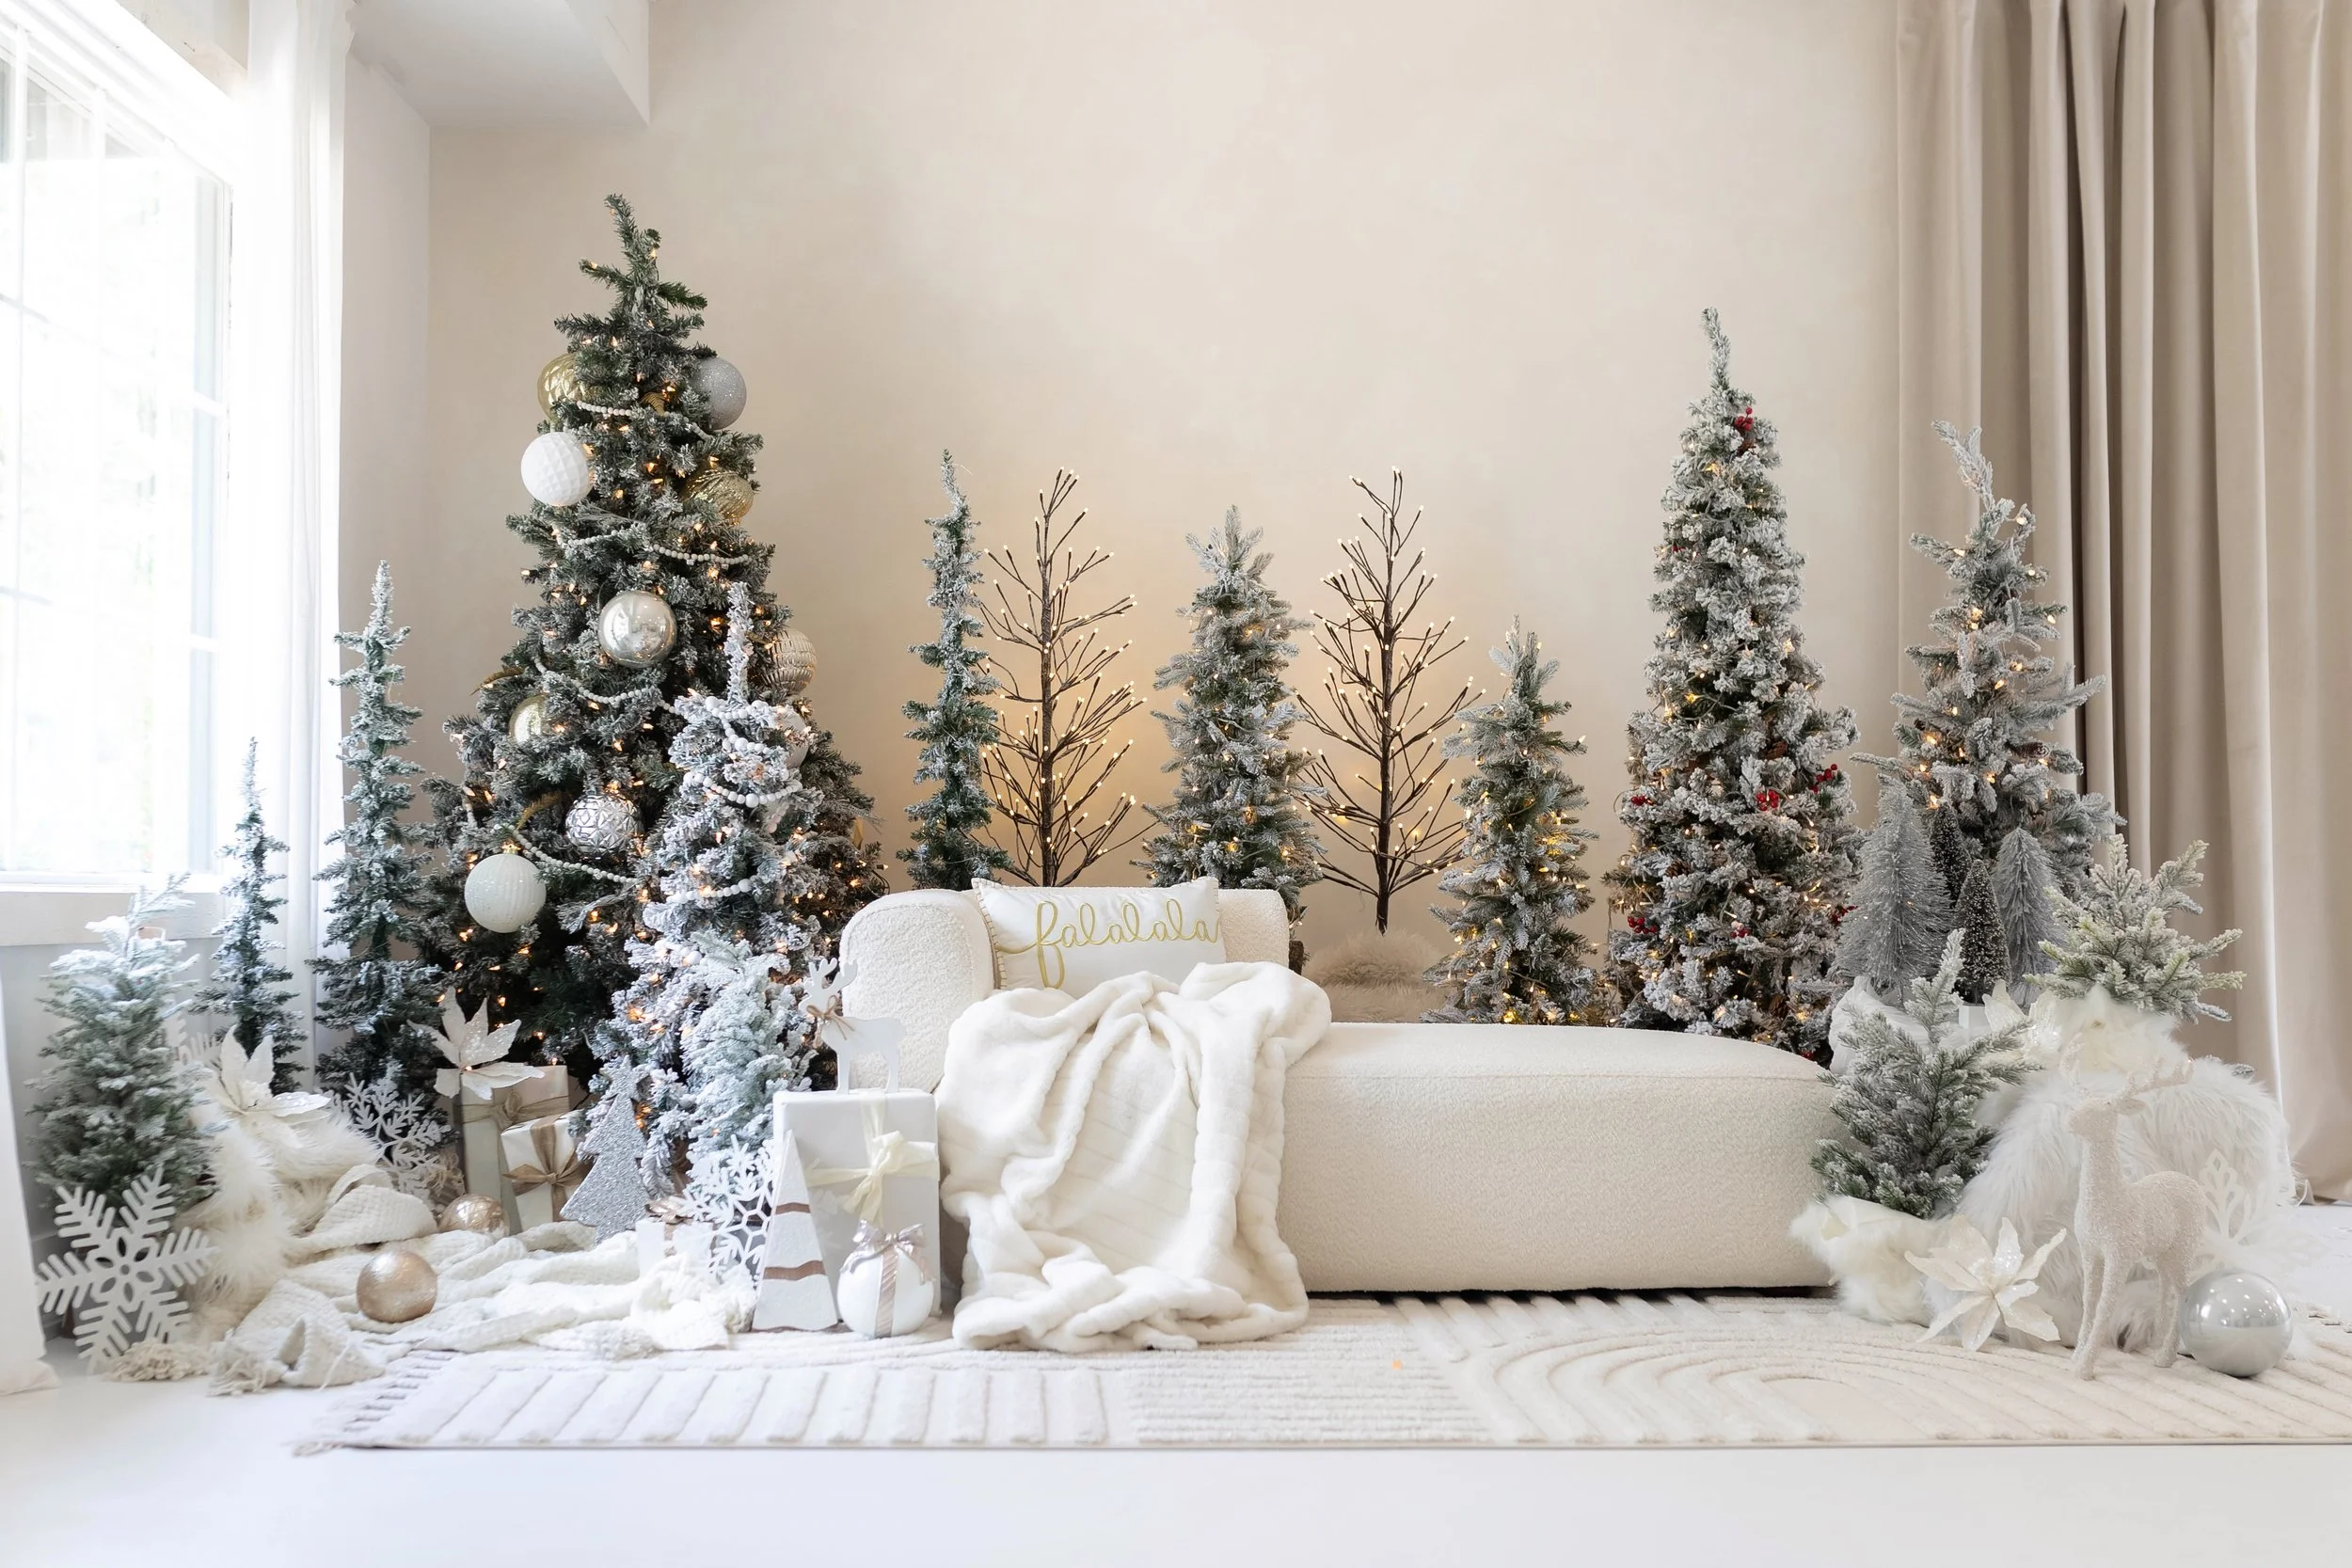
Studio Gallery
Images provided by: After All Photo


Images provided by: After All Photo